Browse & search docs
Connect to a server
If your team already runs a Lore server, connecting is the common case. LoreGUI binds the connection in-process and pulls only the files you open — so even a multi-terabyte project is ready in seconds.
1. Choose the client mode
On first launch you land on Choose Your Setup Mode. Pick Connect to a server (the client path).

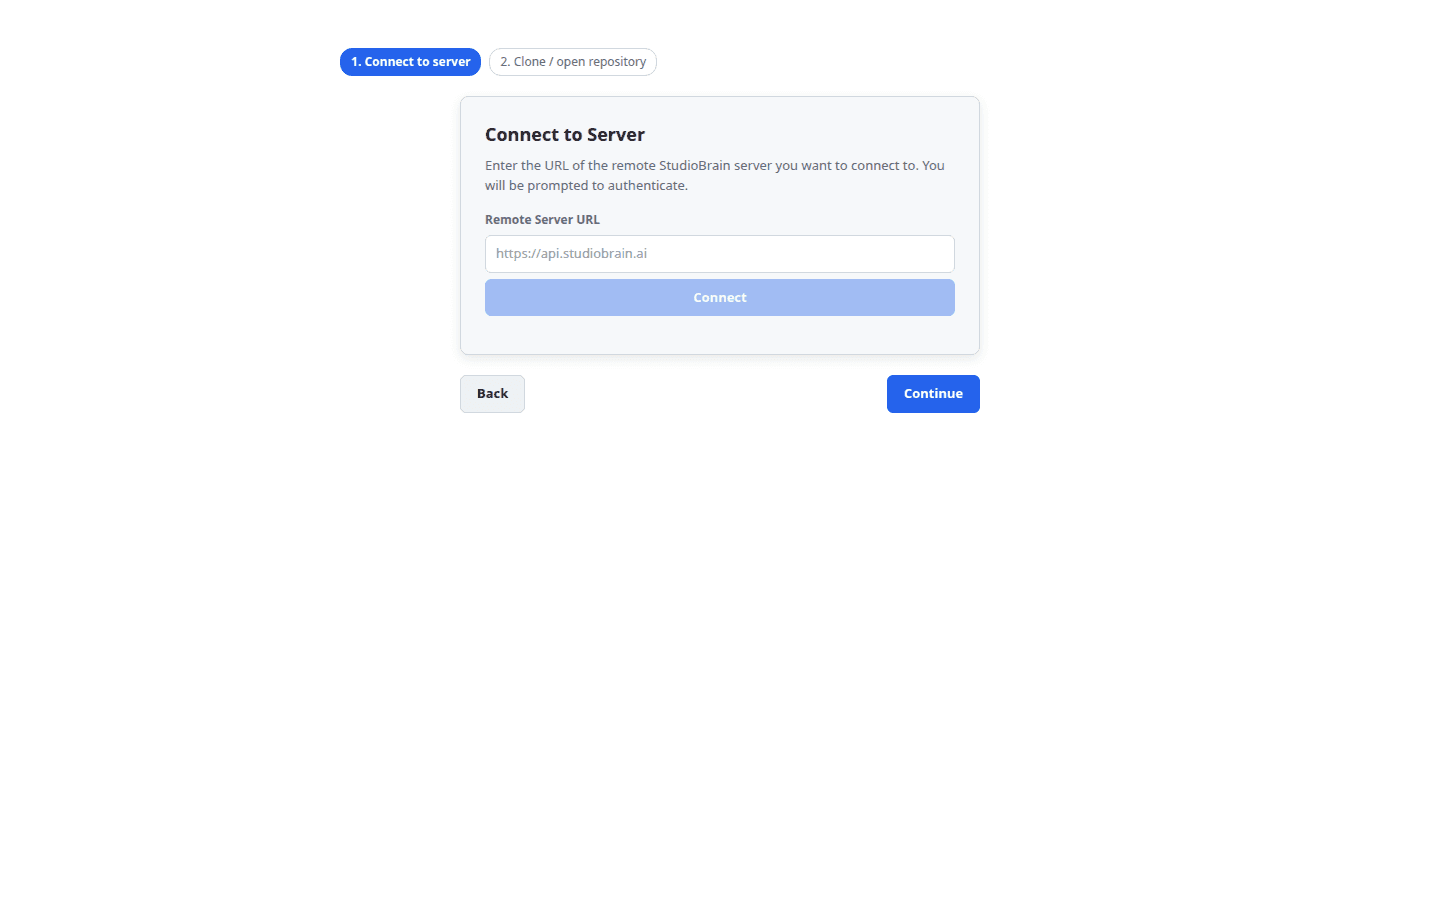
2. Point at the server and sign in
Enter your server's address and your identity. Under the hood this is the auth domain's interactive login against the server URL, followed by selecting or cloning a repository.
The flow is, in operation terms:
authlogin —login_interactive(url)establishes your identity and the connection.- Pick a repository —
repository.listenumerates what's available; choose one. - Clone it —
repository.cloneof alore://host/repoURL brings the repository into your working directory. LoreGUI fetches content lazily, so the clone is fast even for huge projects.
3. You're in
Once connected you land in the main view, with branches, your staged and unstaged changes, and the revision history side by side.
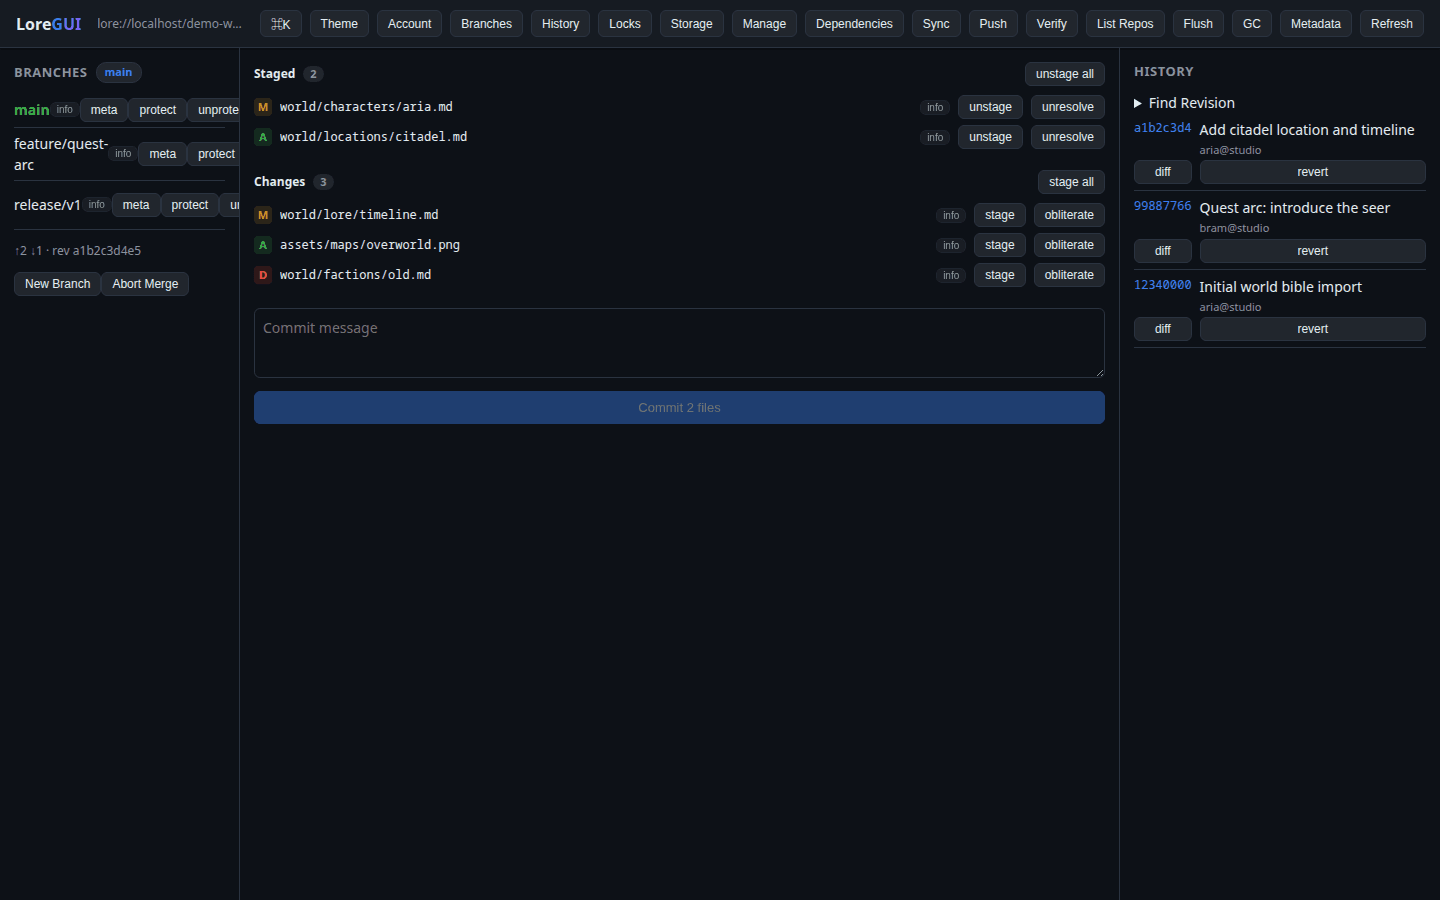
From here:
- Stage files and commit from the Changes surface.
- Switch and merge branches in the Branches panel.
- Claim an exclusive lock before editing a binary asset.
See Panels & domains for a tour of every surface, or the command palette to run any operation directly.
Identity & tokens. Your identity flows through as the connection identity and the author on every revision you commit. LoreGUI never logs auth tokens.